Terminal Guide

The F210 is a compact, all-in-one EFTPOS terminal designed to deliver fast, secure, and reliable payment processing. This quick user guide will walk you through the basics of operating your F210 device, helping you get set up and confidently take payments in no time.
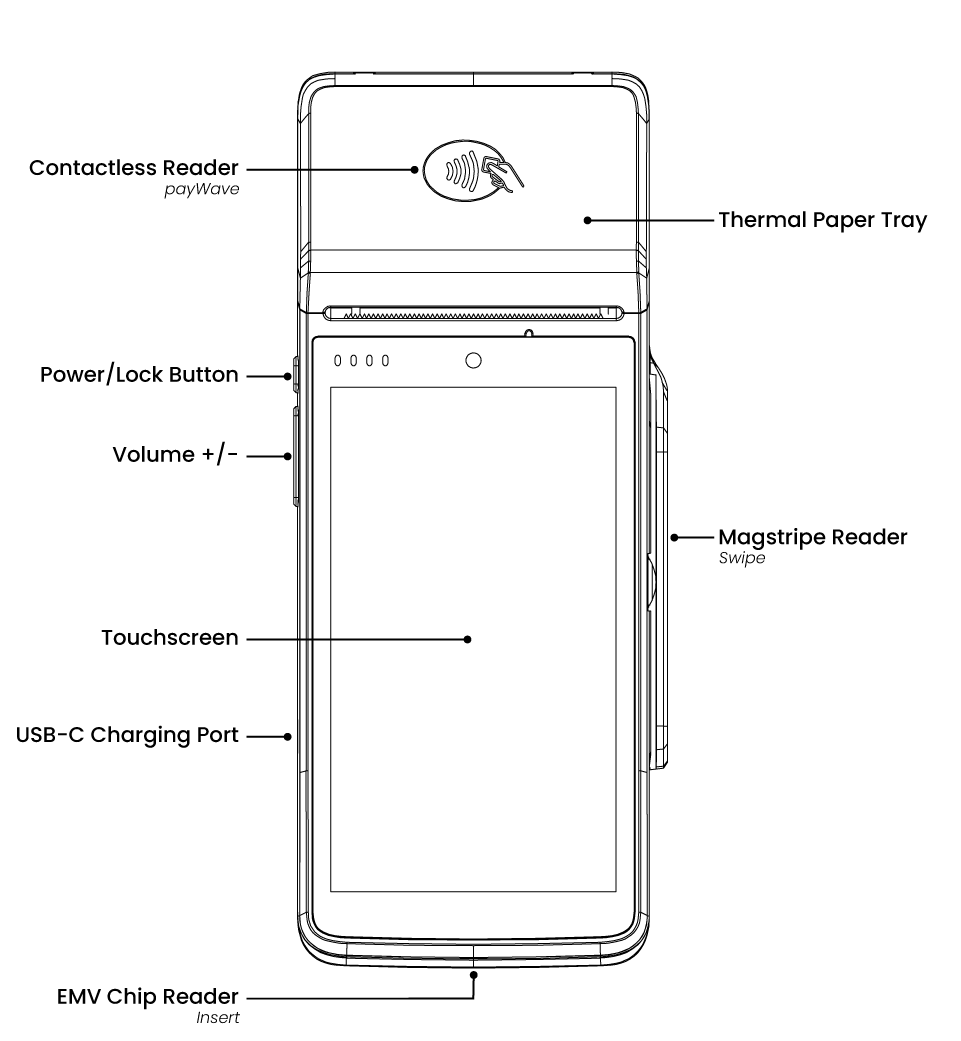
Please Note: The terminal cannot process transactions below 6% battery and will automatically power off at 4%. Fully depleting the battery can cause issues and extend recovery time. When not in use, keep the terminal plugged in, powered on, and charging.
Turning Terminal On


Restarting and Turning Off Terminal

.png)
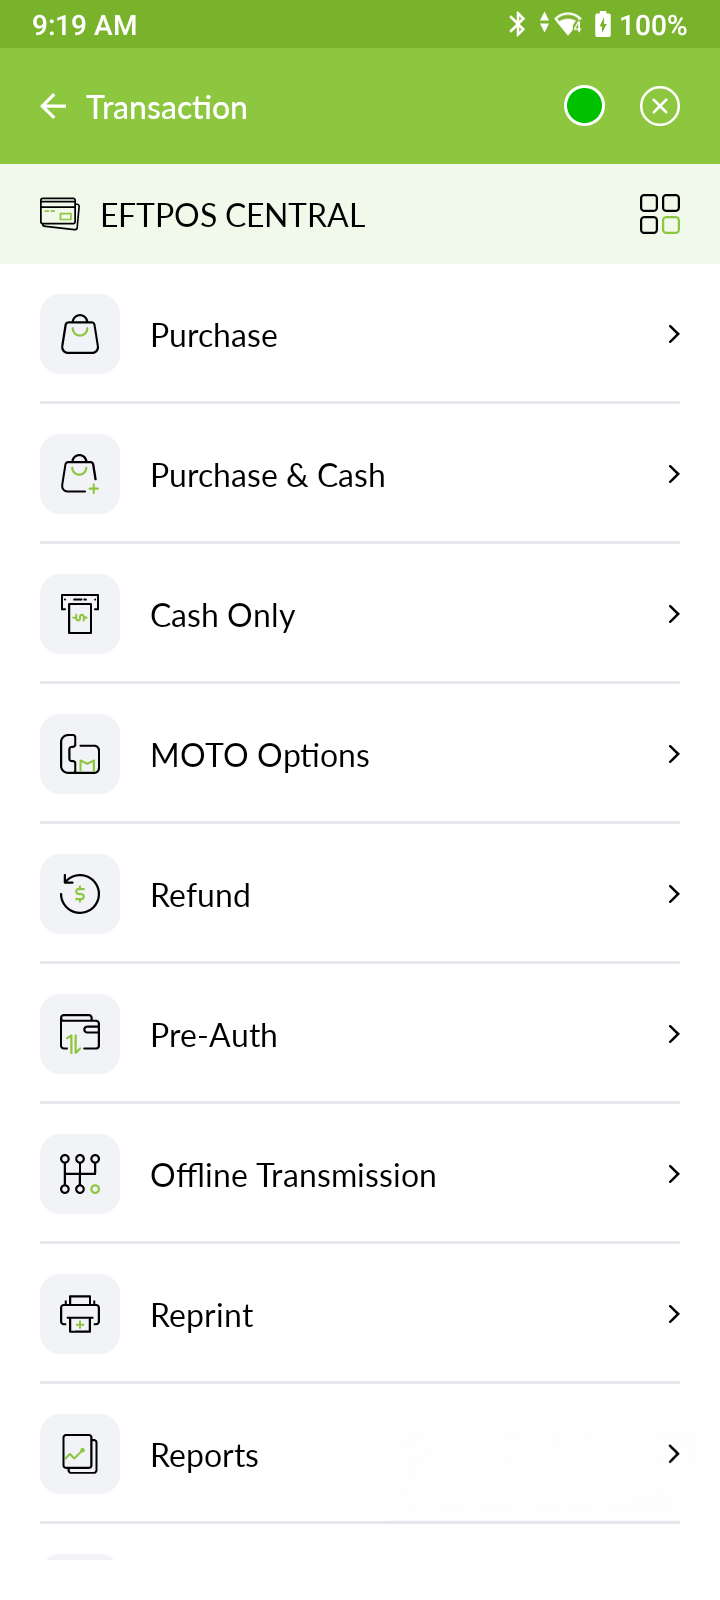
Purchase Transaction

Purchase with Cash Out
Cash Out Only
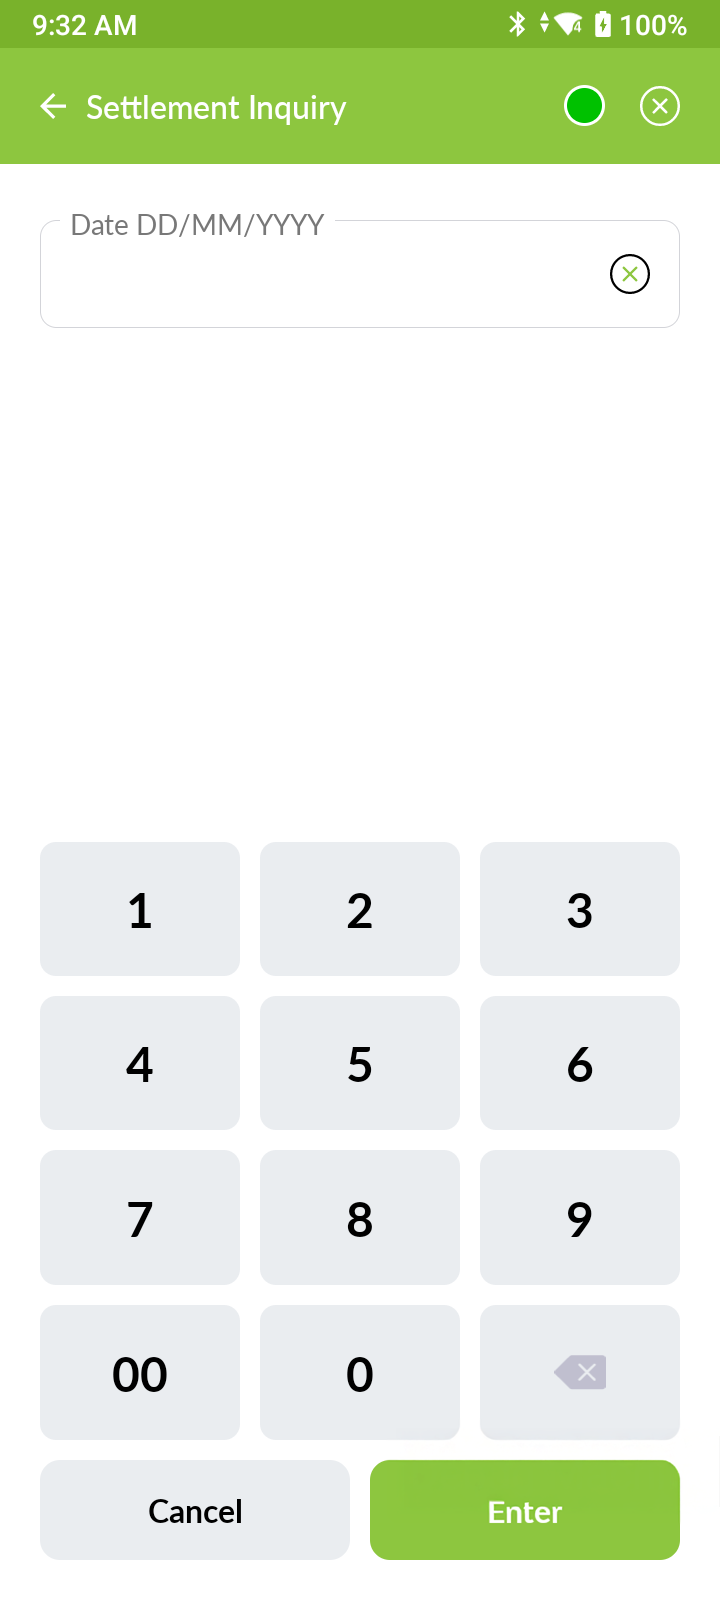
Settlement Inquiry


Settlement Cutover

Print Last Receipt
Print Specific Receipt
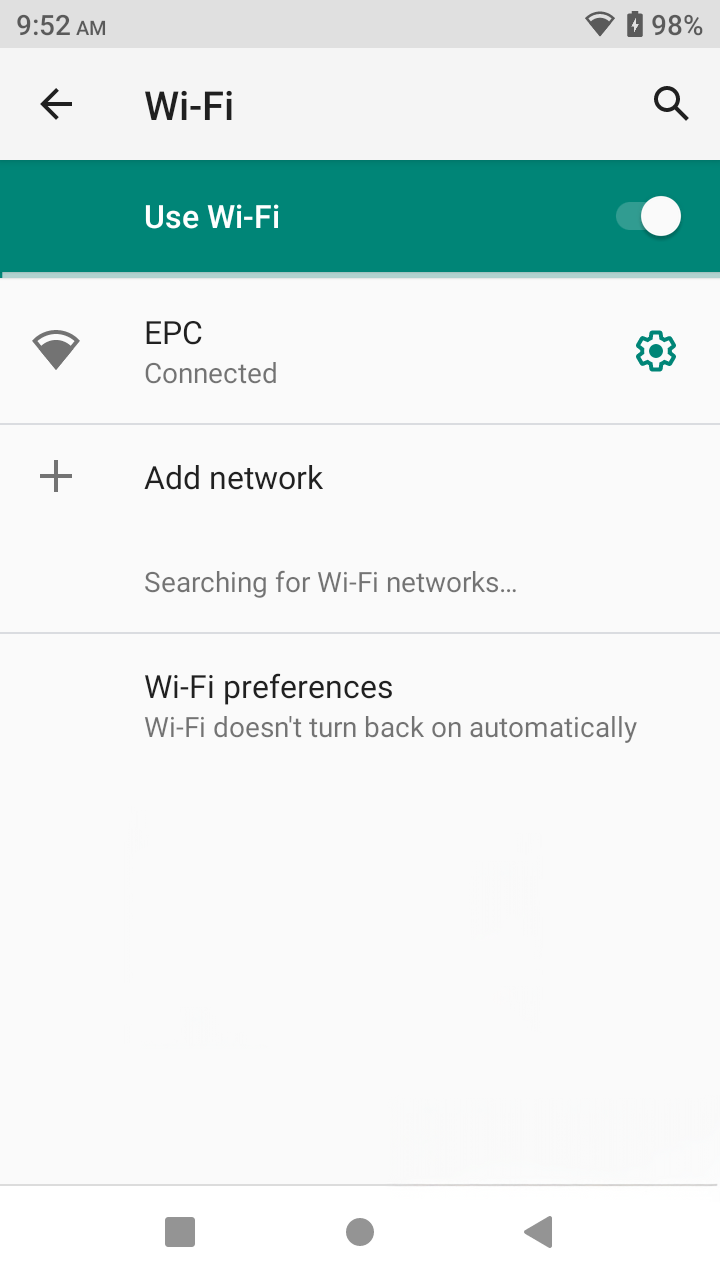
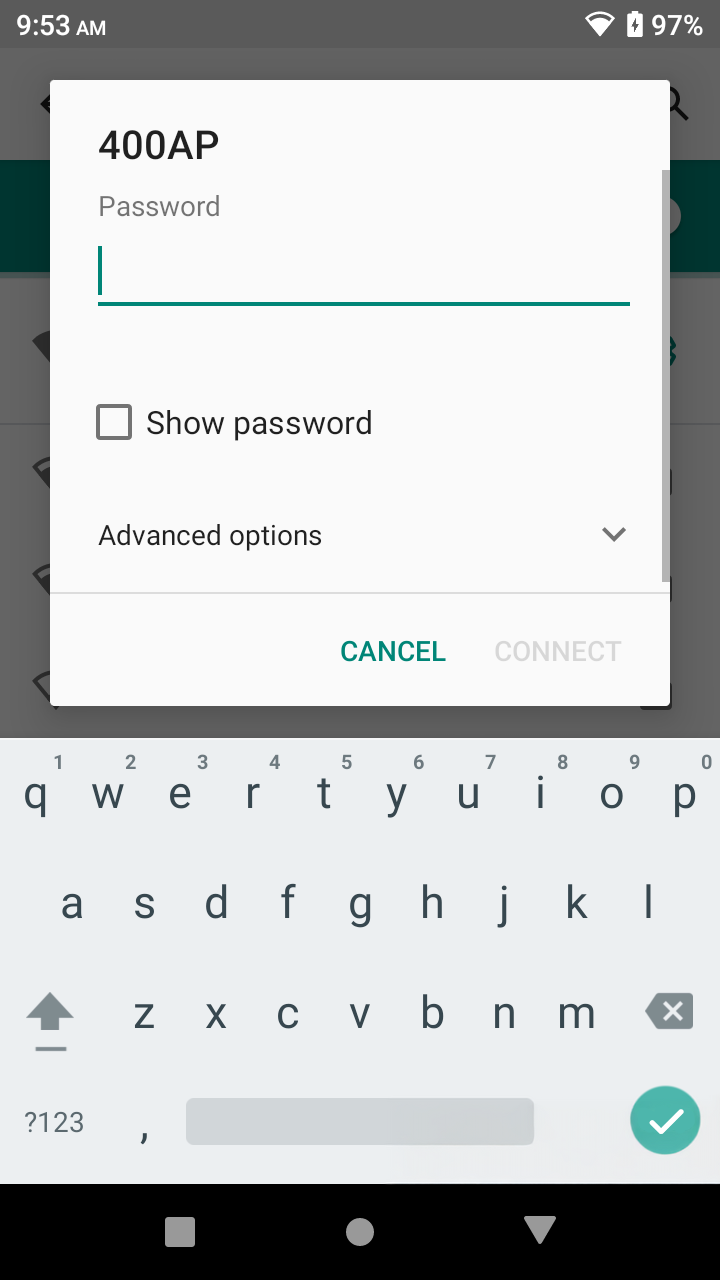
Connect Terminal to Wi-Fi


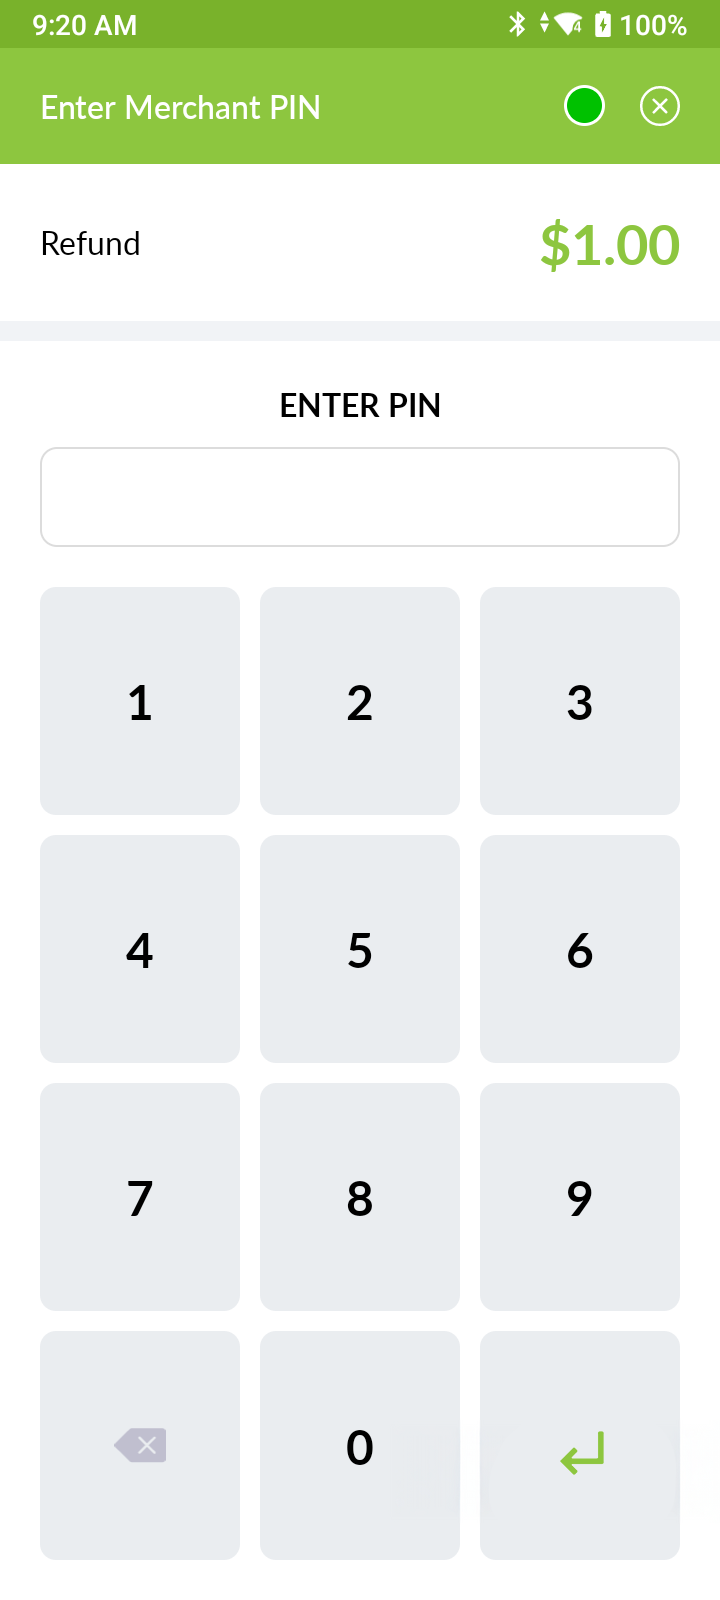
EFTPOS Refund


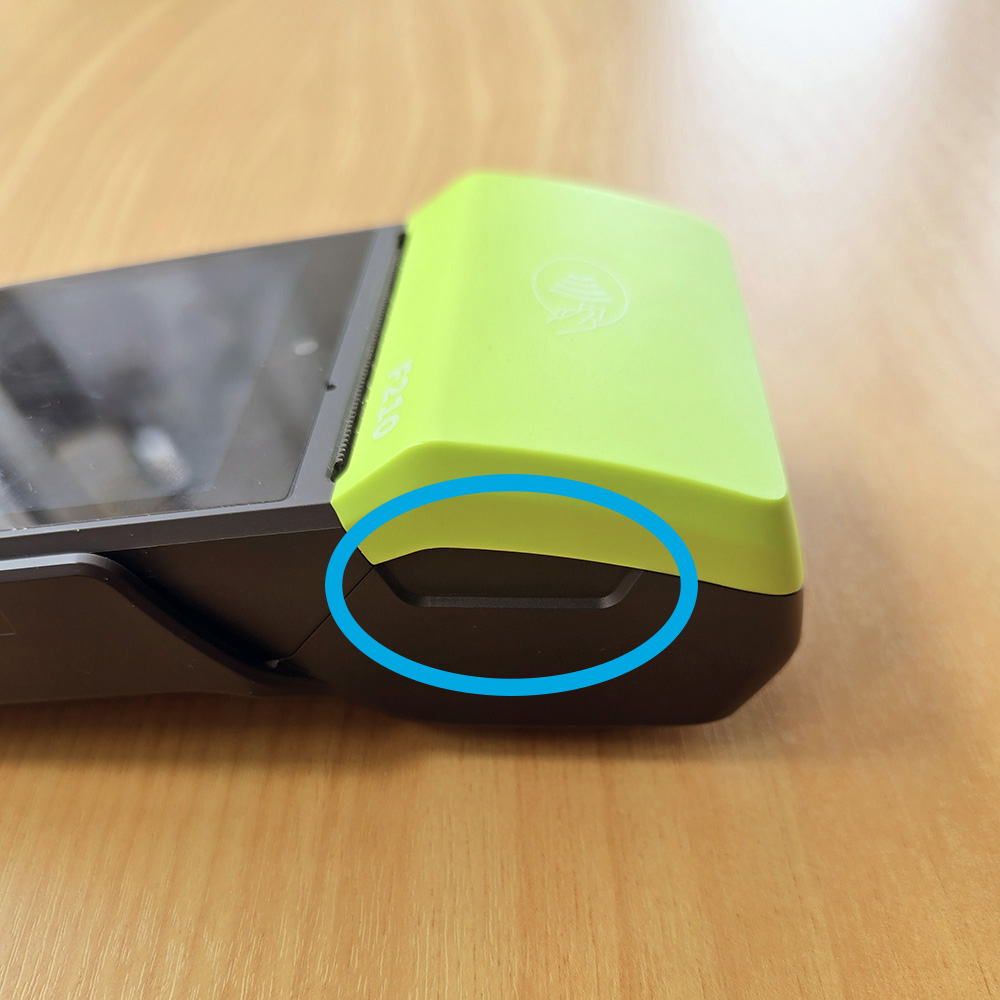
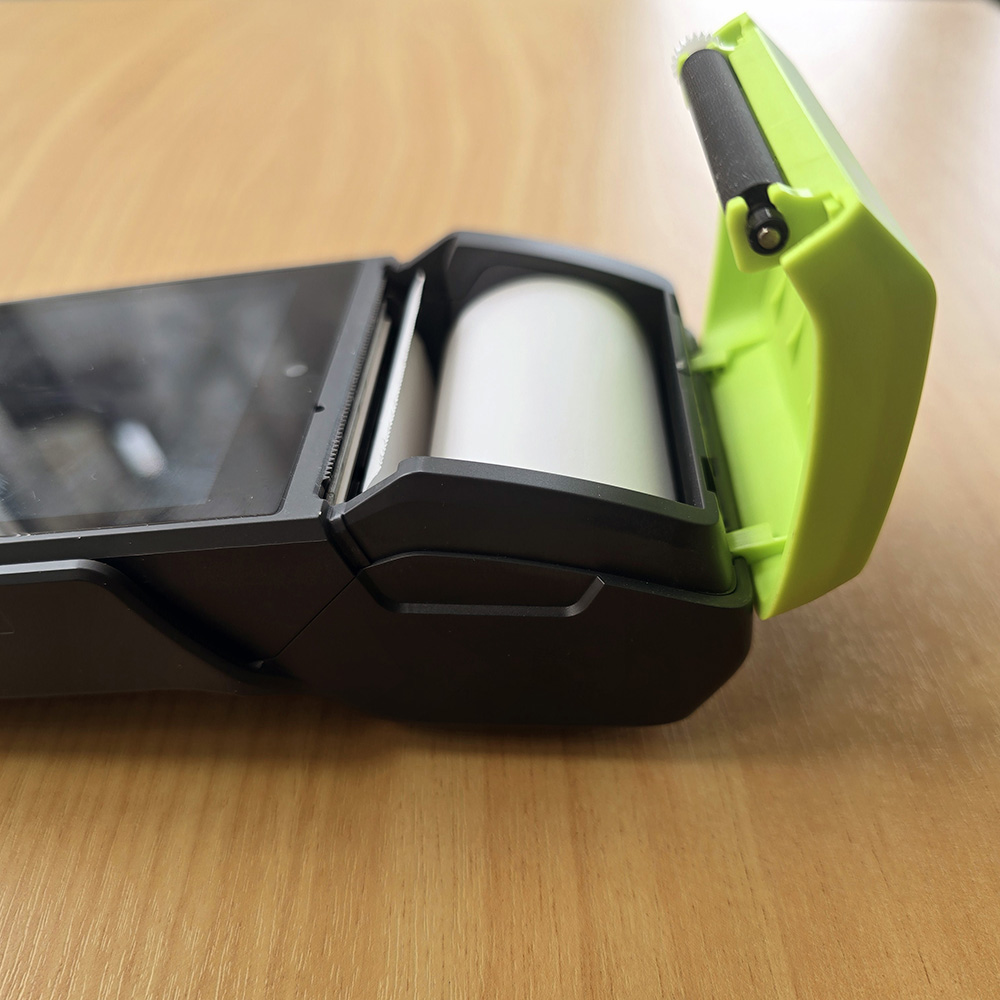
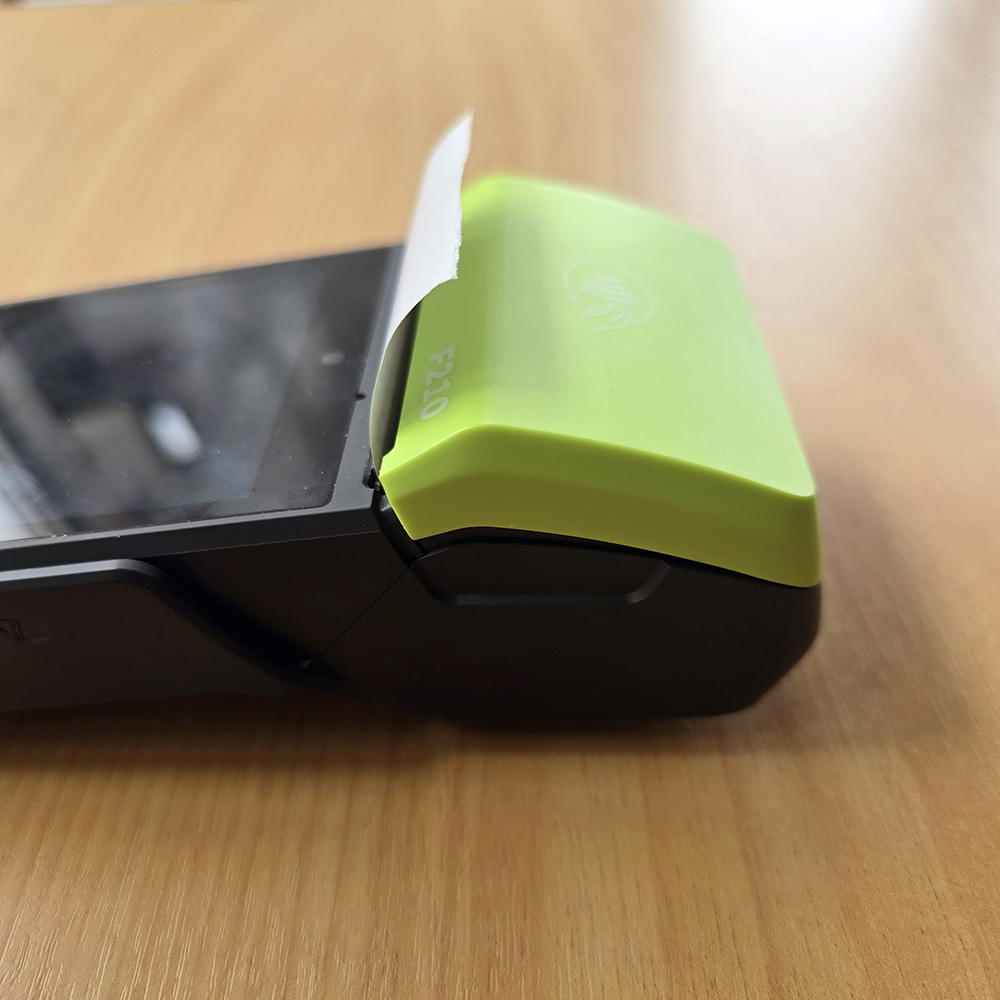
Replacing the Paper Roll